Quick Version: Get 10% OFF sitewide on my #1 pick for lashes HERE!
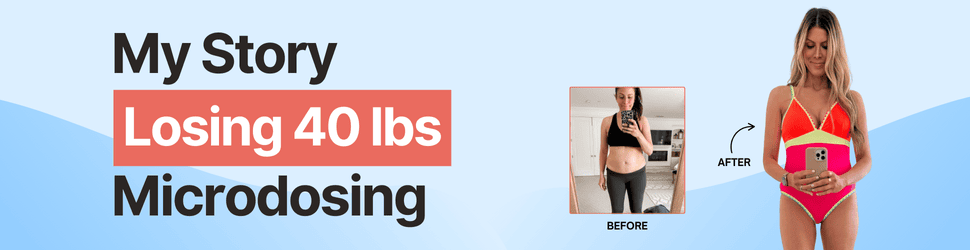
One of the MOST frequently asked questions I got when we all went into quarantine years ago was WHAT I was doing about my lash extensions?! I was a traditional lash extension addict for TEN years (YES! Ten years) and so when we all went on a lock-down and all the salons closed I knew I was gonna have to get creative with my lash extension habit. And ever since then? I HAVEN’T GONE BACK. Seriously!
I’ve tried five different kinds of DIY lash extension solutions – everything from magnetic lashes (liner and non-liner) to strip lashes to Gossamer lash extensions. And today I’m sharing THE BEST DIY lash extensions out of everything I tried (plus, we have EXCLUSIVE CODE)! These are the cream of the crop, easiest to use, very best and most natural looking lashes you can apply from home.

Table of Contents
- Deal Details
- Why I use the ones I use:
- How to remove old professional lash extensions
- Best DIY lash extensions (my #1 choice!)
- What I love about Pro Lash lashes:
- Steps to apply
- How to safely remove your lashes:
- Which is best: Prowear vs Softwear?
- Which style is best?
- ProLash FAQs
- What is the ProLash discount code?
- How long do ProLash lashes last?
- Can you swim and shower with ProLash on?
- How does ProLash compare to Lashify?
- How does ProLash compare to traditional lash extensions?
- How long does it take to apply ProLash?
- Is the ProLash starter kit worth it?
- Prowear vs Softwear: which ProLash style should I get?
- Will ProLash damage my natural lashes?
- More from Mint Arrow
- Lashes for days
Deal Details
Right now, you can shop Pro Lash, my #1 pick for at-home lash extensions, for 10% OFF sitewide when you use code MINTARROW HERE! For orders $75+, you’ll also get FREE shipping.
Why I use the ones I use:
So a few months ago, at my hair appointment, my hair girl was like “CORRINE, you have to try this new DIY lash extension line.” She was the one who originally got me on DIY lashes, but I was like “no way that it’s better than what I’m already using,” but she said “no seriously, IT IS! They’re WAY easier to apply because they come pre-glued, and they LAST LONGER.”
She told me she was wearing them swimming and scrubbing her face in the shower without any of them coming off and I was intrigued.
But THEN she told me they’re taking her under 5 minutes TOTAL to apply.
AND they looked so good on her.
So reluctantly, and curiously, I was like “okay okay, I’ll give this new line a try.”
And guess what?
They really do take me under 5 minutes to do BOTH eyes, total time. They last me 10ish days, and I can SWIM in them, I can shower and wash my face and have water running all over my face, and they do not budge.
And they still offer the same benefits I’d been enjoying of wasting no time going to a salon for professional lash extensions, PROTECTING my natural lashes instead of damaging the heck out of them, and having them last at least a week or more, and saving a TON of money.
I’ve been using them for a few months and just can’t gatekeep any longer.

How to remove old professional lash extensions
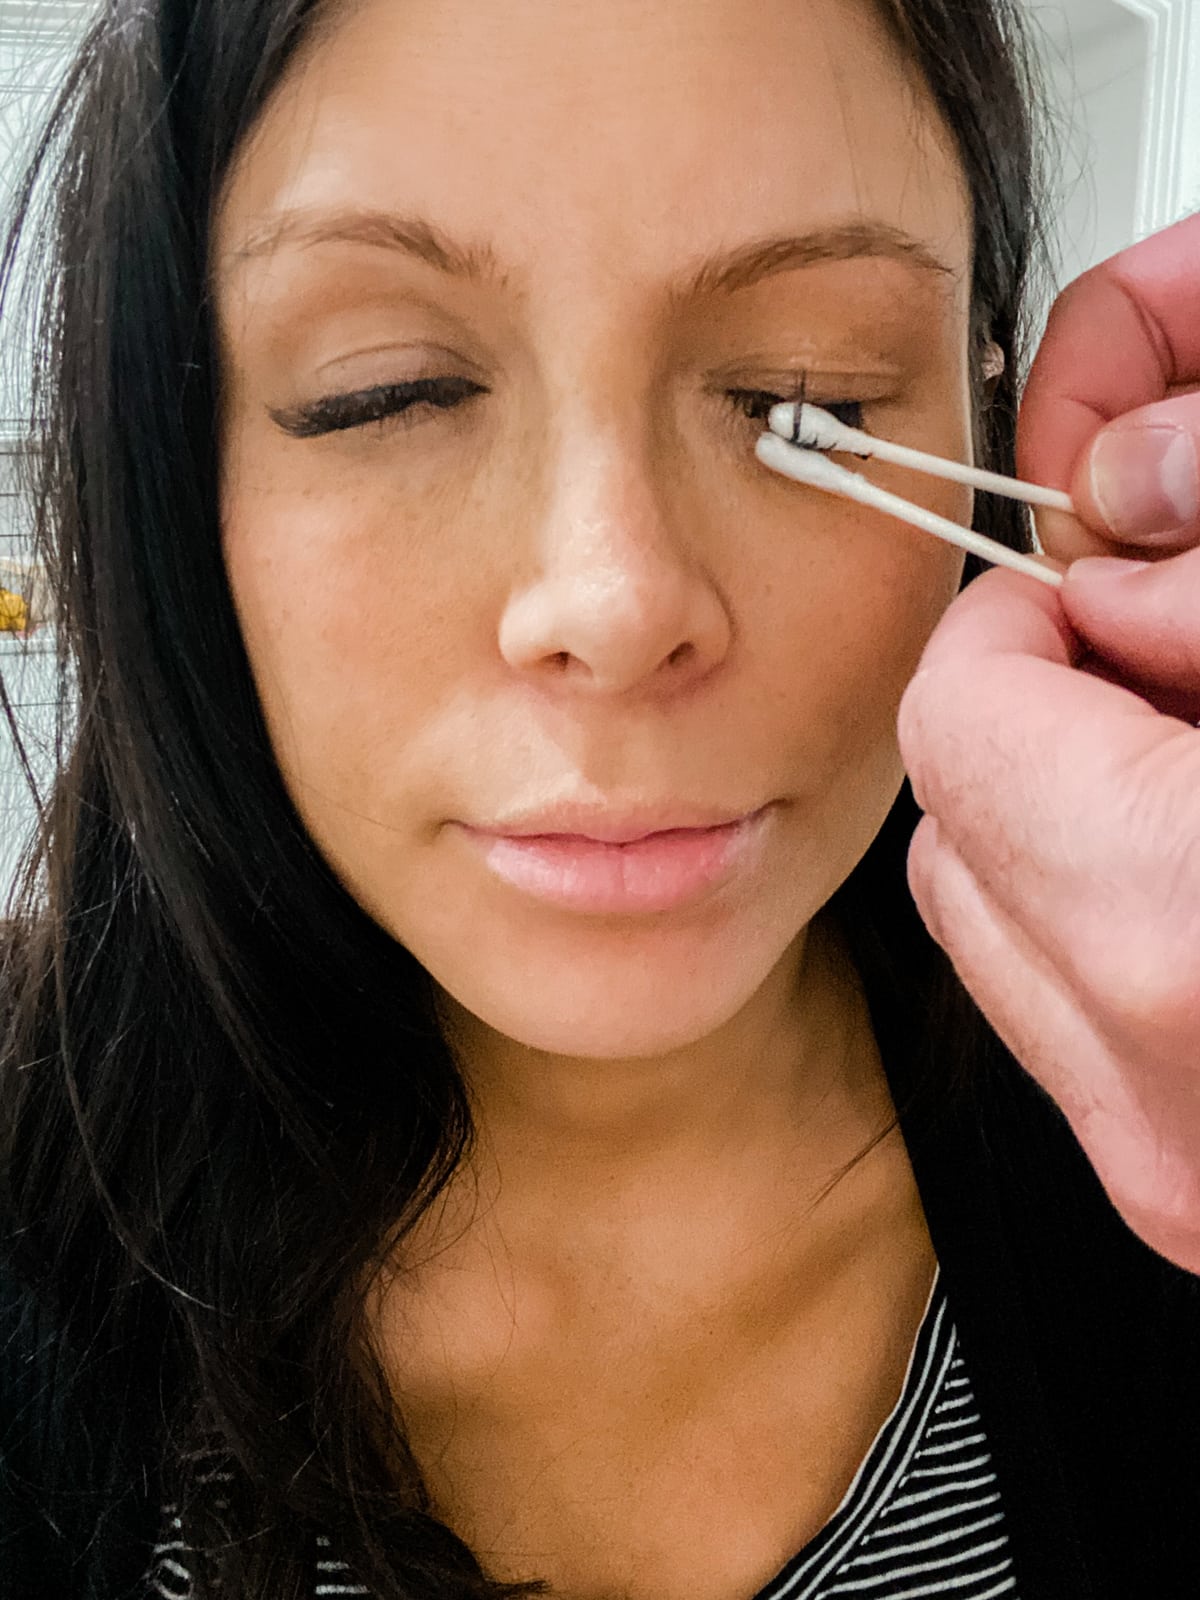
The first question I know you might have (because I get lots of DMs about this!) is how to remove the stragglers, if you have any, of traditional, professional lash extensions. When I took my last pair of professional lash extensions off, back in 2020, I used a lash remover like this one from Amazon, and they came off after two applications of Neil applying it and then gently using q-tips to slide them off (like you can see in the pic below).
My only regret is that I didn’t buy some eye pads to protect my under eye area, just like the kind they put on you when you’re getting lash extensions. My under eye area was so irritated after taking off the lashes that I was mad at myself for not thinking of this step! These are only $8 and I wish I would’ve gotten them. Otherwise, the old lash extensions were pretty easy to remove.
Best DIY lash extensions (my #1 choice!)
If you want to save some real money but don’t want to have to put fake lashes on daily (ME!) and you’re used to the convenience of lash extensions, OR if you just want to have a three-minute weekly solution instead of a one-hour appointment every few weeks, this is my FAVORITE solution by far of everything I tried.
What I love about Pro Lash lashes:
- Pro Lash lashes are easy and fast to apply because they come pre-glued.
- Pro Lash lashes are totally waterproof and sweatproof.
- I swam with my kids in a pool multiple times over spring break and they didn’t budge at all.
- I can shower and fully wash my face without worrying about them coming off.
- They take me less than 5 mins total for both eyes and last 10 days to 2 weeks.
- These are a GREAT deal to get started – the starter kit for ProLash is $85 and that comes with the glue, the remover, the application tool, and 3 sets of lashes! Most lash salons charge between $100-300 for your first set.
ProLash is so much less expensive than traditional lash extensions, at 3 sets for $70, or $56 on subscribe & save (that breaks down to $23/set, or $18/set on subscribe & save). The BEST part is you can get 10% OFF sitewide when you use code MINTARROW HERE.
*Check out the picture below of my lashes – I took this right after I jumped into lake mead and my lashes didn’t budge! These really are the best lashes on the market!

Steps to apply
I said these lashes are easy to apply, but HOW do you actually do it? Here are the steps!
*They recommend applying your lashes in the morning because lashes can shift at night.
Step 1: Apply The Adhesive
Start by coating your natural lashes really well with the adhesive wand in a side to side motion
Step 2: Apply The Lashes
Apply the lashes under your natural lashes but don’t apply them too close to your natural lash line
Step 3: Crimp The Lashes
Before crimping, do the squint test. Do this by looking around, blinking and squinting to make sure there is no pinching. Use the tweezers to clamp down then release to crimp the lashes. You will want to pinch your natural lash and the extensions together to get them to stick together.
It is recommended to crimp regularly. Do it morning and night and prior to getting them wet but don’t do it too hard because doing so can damage the lashes.

How to safely remove your lashes:
- Apply lash remover and let it sit for 10 seconds
- Remove lashes (lashes should come off easily) If needed, you can apply more of the lash remover
- Gently wipe away any extra glue that is left on your natural lashes with the lash remover solution
Extra tips to make your lashes LAST:
- Crimp before and after getting them wet
- After getting your lashes wet, pat them dry
- Make sure your face and lashes are oil free prior to application. Once the lashes have been applied avoid using oil based products around your eyes
- Overlap the edges of the lash segments slightly to increase retention and reduce gaps
- Trim the lash segments length wise on the 3rd or 4th ones to fit smaller eyes or to make them more comfortable
- Try not to apply lashes too close or too far away from the lash line. If you place them too close they can feel uncomfortable
Which is best: Prowear vs Softwear?
Pro Lash just came out with a brand new lash called Softwear. They’re a lot like the very first lashes I ever used at home. Personally, I still really prefer the Prowear. They’re just so quick and easy to put on, and they stay on longer! I don’t find them any more or less comfortable than the Softwear. And for me one of the biggest selling points of using Pro Lash is how quickly I can put a set on and be on my way and not have to think about them for another 7 to 10 days.

Which style is best?
I either use the Classic No. 1 if I’m in a big hurry (more often than not) or Classic Luxe Wispy No. 15 if I have a little more time and I want them to look really good! There are more pieces in the 15s set so they do take a few more minutes to apply.
ProLash FAQs
What is the ProLash discount code?
Use code MINTARROW for 10% OFF sitewide at ProLash. Orders over $75 also ship free, so you can stack the savings.
How long do ProLash lashes last?
Mine last 10 days to 2 weeks. I swim, shower, fully wash my face, and they don’t budge. The trick is crimping morning and night and avoiding oil-based products around your eyes.
Can you swim and shower with ProLash on?
Yes. They’re fully waterproof and sweatproof. I jumped in Lake Mead with mine on (there’s a photo above) and they didn’t move. I swim with my kids in the pool, I shower, I wash my face. Everything is fine.
How does ProLash compare to Lashify?
I tried Lashify before ProLash and ProLash is faster to apply (under 5 minutes for both eyes vs Lashify which takes me much longer). ProLash also lasts longer for me, around 10 days vs Lashify which I had to redo more often. Both protect natural lashes way better than traditional extensions, but ProLash is the one I keep going back to.
How does ProLash compare to traditional lash extensions?
I was a traditional lash extension addict for 10 years. ProLash is genuinely better in every way that matters to me: way cheaper (starter kit is $85 vs $100 to $300 for a single salon set), no damage to natural lashes, no hour-long appointments every few weeks, and they last 10 days to 2 weeks. The only thing salon extensions do better is the look on day one, but I’d argue ProLash is barely a step behind on day one and actually looks better on day 7.
How long does it take to apply ProLash?
Under 5 minutes for both eyes once you’ve practiced a few times. They come pre-glued, which is the game-changer compared to other DIY lash systems. The Classic Luxe Wispy No. 15 takes a few extra minutes because there are more pieces in the set, so on rushed mornings I reach for Classic No. 1.
Is the ProLash starter kit worth it?
Yes. The $85 starter kit comes with the glue, the remover, the application tool, and 3 sets of lashes. With code MINTARROW you save 10% on top. Most lash salons charge $100 to $300 for your first appointment alone, so the starter kit pays for itself the first time you use it.
Prowear vs Softwear: which ProLash style should I get?
I prefer Prowear. They’re faster to apply and last longer for me. Softwear is the newer line and reminds me of the very first DIY brand I used years ago. Comfort-wise, both feel about the same on. If I had to pick just one, Prowear every time.
Will ProLash damage my natural lashes?
This is the BIG reason I switched away from traditional extensions. After 10 years of professional extensions my natural lashes were thinning. With ProLash I haven’t had any damage, and my natural lashes have actually recovered.
More from Mint Arrow
- The best mascara I’ve ever tried
- Oliveda review: my honest take on Botox in a Bottle
- EllieMD discount code: my honest GLP-1 review
- Lumebox discount code: red light therapy review
Lashes for days
I hope this helps you save a bunch of money & time – OR if you’ve just wanted to try out some falsies for special occasions here and there, these lashes really are THE BEST. Don’t forget, you can get 10% OFF sitewide when you use code MINTARROW here! Let me know if you have any questions and I’ll do my best to help you out!


Great post – I miss my extension! For Lashify, do they fall off after 7-10 days, or do you remove them after 7-10 days? If they fall off, does it look weird like there is a whole section missing? can you reapply the same lashes back on? what if you lose the section that fell off? Are they easy to remove? Are you applying the extensions directly to your lashes or the skin below your lash line? sorry for all of the questions!!
Hi Kat, no worries! Happy to help as much as I can. My first application of lashify I had a couple of them fall off but they were super easy to reapply, like 20 seconds to just reapply the one that fell off. Closer to the week mark, more of them started falling off so I just used their melt-away to take them all of and they slid right off super easily with zero damage to my natural lashes. WAY easier than removing traditional lash extensions! You glue them under your lash line to your actual lashes, not your skin! But the glue is very gentle, nothing like traditional lash extension glue either. Hope this helps!!
Do you think we have to buy the kit? If we just buy the lashes you said you like classic? If we buy the kit what length and style do you recommend?
Thanks for the great information! Do you know if I can have these sent to Australia?
Hey Kat! You can find more info on that here! 🙂 -Kourtney
Hello. I just watched your tutorial and read your article above. Is there somewhere we can see your exact Lashify order (a specific list of each item) so I know exactly what to buy to recreate your look? Thank you
Hey Caroline!
Here’s what Corrine said: “My favorite core gossamers are the C14 and C16s! I also love the starburst gossamers in 14 and 16. I wear either Cs or starbursts depending on whether I want a more natural look or a little more standout, like for pictures. I strongly recommend the control kit (get 25% off here!) because it really does come with everything you need, and I also love the products pre-cleanse and release, and the gossamer storage case for travel”
Hope that helps! -Kourtney
Thank you so much for the details Kourtney! Excited to order the control kit using your link.
Hi!
I love your review. The thing I was most curious about is the adhesion to multiple lashes. I know with regular salon lash extensions it’s a huge no-no to adhere one lash to multiple of the natural lashes, as if one natural lash falls out, the fake lash glued to the multiples will not fall out with it and potentially damage the lashes. What is this like for these lashes? I think they are getting bonded to multiple lashes correct? I’m just worried about any damage to my natural lashes.
Hey Karyna! The lash glue that you use for these at-home extensions is VERY gentle, not like the surgical glue they use with traditional lash extensions! It lasts 5-10 days and when you use the melt away, the extensions literally slide off your lashes with zero resistance and don’t take off your natural lashes at all. It’s hard to describe until you try it yourself, but it’s a very different process all-together! -Kourtney
Hey, did you by chance try flutter habit? Wondering how these compared. Thanks!